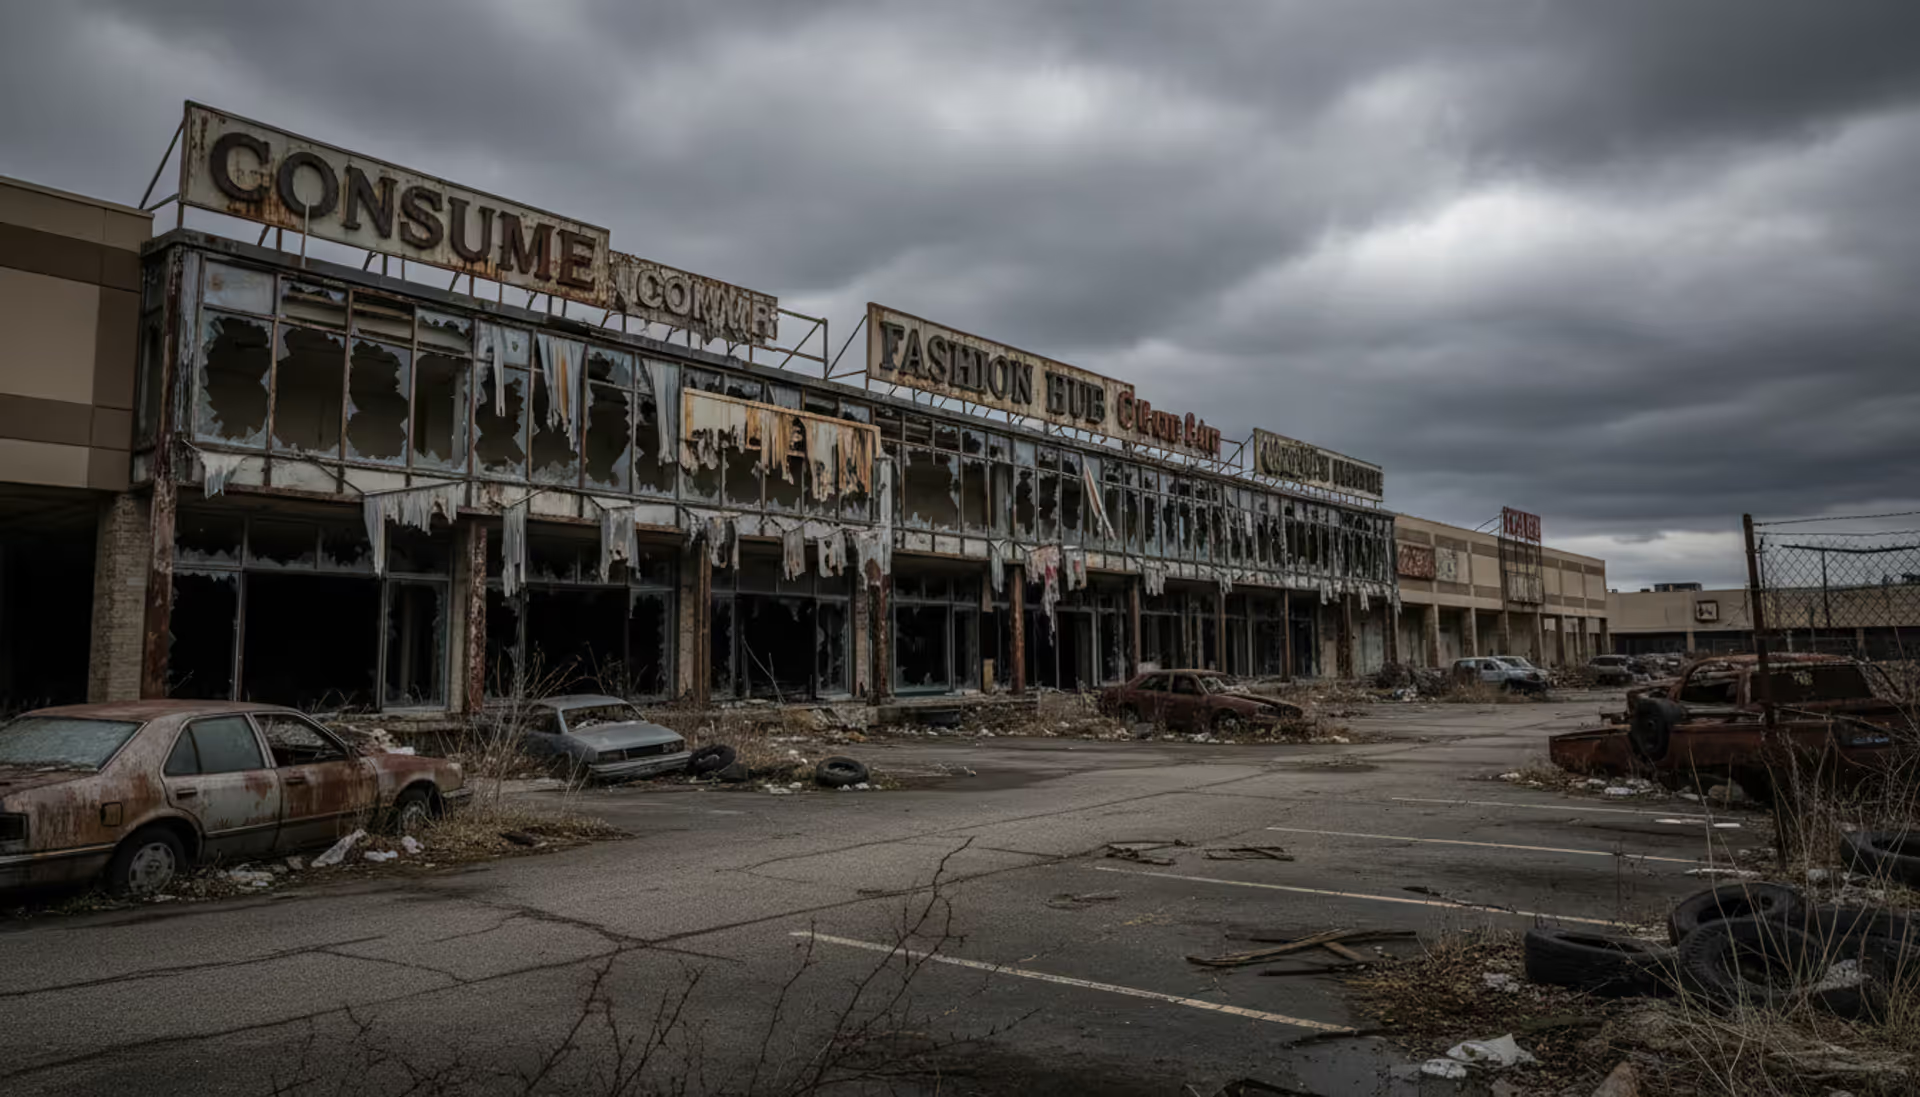
Abandoned shopping mall exterior with broken storefronts, empty parking lot with wrecked cars, overcast sky, post-apocalyptic atmosphere
Interchange Tarkov Map Guide

Content
If you've ever gotten lost in a mall during a Black Friday rush, you'll understand Interchange—except here, shoppers carry assault rifles and you're not leaving with a new TV unless you survive the parking lot first. This sprawling shopping complex drops you into Tarkov's deadliest indoor environment, where tech stores overflow with GPUs while Killa patrols the corridors looking for his next victim.
The lighting's terrible, the echoes make every footstep sound like it's coming from three directions, and you'll die more times than you'd like to admit before you figure out which escalator leads where. But here's the thing: once you crack Interchange's secrets, you'll pull out raids worth millions while other players are still getting lost between IDEA and Goshan.
Understanding the Interchange Map Layout
Ultra shopping mall sits at the heart of everything—two stories of retail chaos anchored by three massive stores that form your primary navigation landmarks. IDEA sells furniture and home goods on the northwest side (look for blue and yellow everywhere). Goshan's the grocery store claiming the northeast corner with red signage you can spot from across the parking lot. OLI hardware dominates the south with green branding that's equally hard to miss.
Here's what nobody tells you: between these three giants runs the central corridor where most firefights happen. Small shops line both sides—Kiba gun store, tech retailers, clothing stores, pharmacies. First floor connects straight into the parking garage through maybe a dozen different entry points. Walk in the wrong door at the wrong time and you'll meet three players who got there thirty seconds before you.
Second floor's got offices, more shops, and those metal catwalks everyone uses for cheap angles across the mall's open spaces. You haven't lived until someone's lasered you from a catwalk you didn't even know existed.
Outside? Picture a parking lot that goes on forever. Abandoned cars everywhere. Shipping containers. Two spots you'll visit constantly: the power station (northwest) and the railway tracks (southeast). The parking garage underneath connects to everything, which sounds convenient until you realize it's basically a concrete maze where spawn points overlap and nobody can see anybody until you're already trading shots.
Orientation screws with experienced players too, not just newcomers. I've watched streamers with 3,000 hours spin around trying to figure out which anchor store they're looking at. The trick? IDEA's always northwest (blue/yellow), Goshan's northeast (red), OLI's south (green). Those anchor positions won't change. Learn them once and you'll never truly be lost again—confused maybe, lost never.
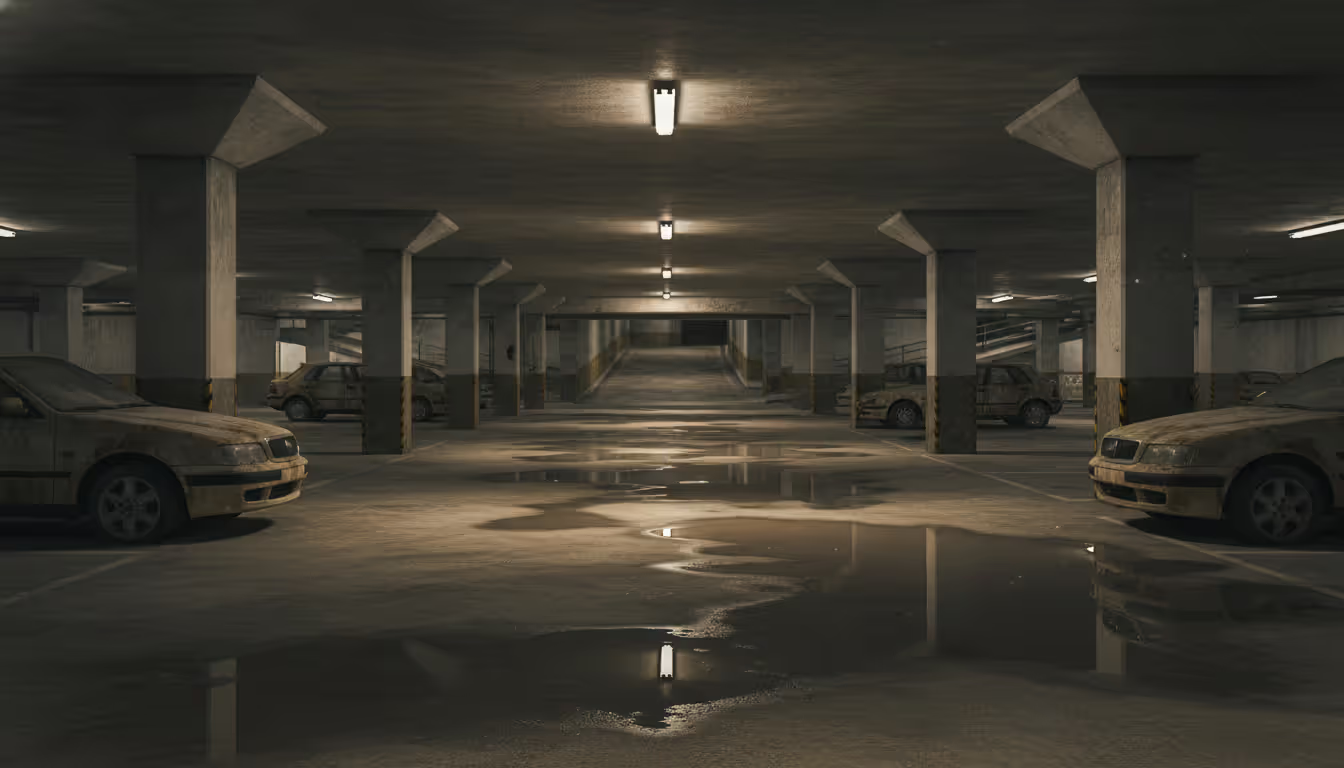
The underground section deserves its own warning label. First five minutes of any raid, that garage becomes a deathmatch arena as everyone rushes their favorite loot spots. The lighting's so bad you'll second-guess whether that shadow's a pillar or a person. It is, unfortunately, usually a person.
Author: Megan Crosley;
Source: okogames.site
Interchange Extract Locations and Requirements
Extraction points split hard between PMC and Scav, with some conditional exits that'll screw you over if you don't plan ahead.
PMC Extraction Points
You've got four potential ways out, though not every raid gives you all four. Railway Exfil sits southeast corner of the parking lot—just follow the tracks. Always open, no conditions, no payment required. Walk up, wait seven seconds, you're out. Problem is, everyone knows this. I've found more extract campers at Railway than I've found graphics cards in Tech Light, and that's saying something.
Emercom Checkpoint mirrors Railway on the opposite corner—southwest parking lot. Also always available, also completely unconditional, also a magnet for players who'd rather wait ten minutes for one kill than actually play the map. The walk across open pavement makes you feel like a shooting gallery target, because that's essentially what you are.
Saferoom Exfil hides in the OLI back offices on first floor, behind a keypad door. Sounds great until you realize it won't work unless someone's turned on the power. Forget to flip that switch and you'll be sprinting toward Railway with thirty seconds left while someone camps the doorway. Ask me how I know.
Power Station Gate's a vehicle extract (northwest lot) that costs anywhere from 3,000 to 7,000 rubles when it spawns. It doesn't appear every raid. When it does, you'll hear the loudest vehicle sounds this game can produce, which basically broadcasts "FREE LOOT OVER HERE" to everyone within 200 meters.
Scav Extraction Points
Scav life's easier, honestly. You get Railway and Emercom same as PMCs. Plus Hole in the Fence near the power station—literally a gap in the wall, walk through, you're done. No muss, no fuss.
Scav Camp extract's southwest beyond Emercom, Scav-only access. Some raids throw in the co-op extract behind OLI where a Scav and PMC have to trust each other long enough to leave together. I've successfully used this extract exactly twice in three years. Every other attempt ended with someone's trust issues and my Scav bleeding out on the pavement.
High-Value Loot Spots on Interchange
Interchange earned its reputation for fat loot by cramming more GPU spawns, weapon stores, and hidden offices into one map than should legally be allowed.
Kiba Store Location and Key Requirements
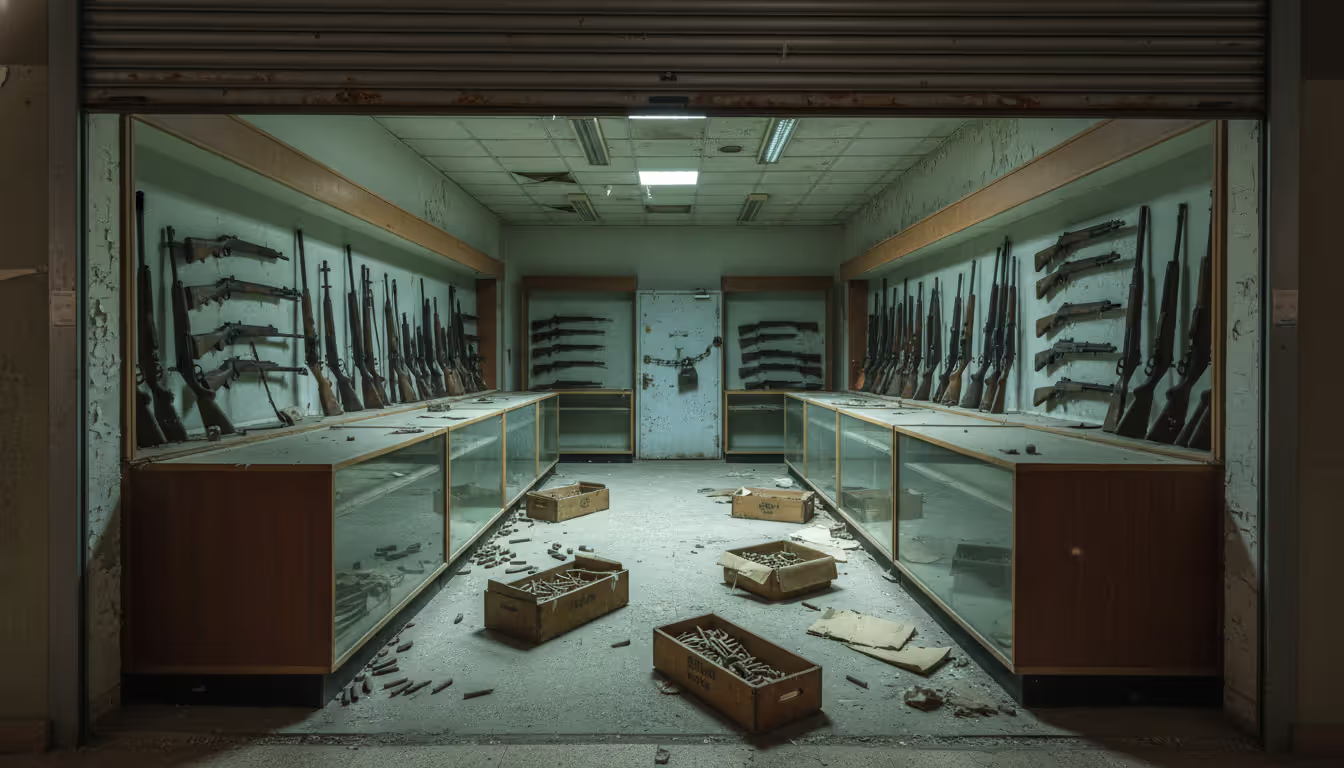
Kiba Arms sits dead center in the first-floor mall corridor, roughly halfway between IDEA and Goshan. Can't miss it—metal shutters on the outside, glass security door inside. You'll need both Kiba 1 and Kiba 2 keys to get in, which together run you 400,000+ rubles depending on the current market.
Inside you'll find weapon racks wall-to-wall. High-tier guns, expensive attachments, ammunition that actually penetrates armor. Back room's got a safe and additional weapon cases. Sounds amazing, right?
Here's reality: opening Kiba announces your location to literally half the server. Those metal shutters screech like a dying animal. Every player between the parking lot and Goshan offices will hear you, and at least three of them will immediately start moving your direction. I've looted Kiba successfully maybe 40% of the time I've opened it. The other 60% I'm fighting for my life before I've even filled my backpack.
Author: Megan Crosley;
Source: okogames.site
Tech Light and Techno
Tech Light's second floor, central corridor. Take the escalators up from first floor and you'll spot it. Electronics store, no key needed, multiple GPU spawns plus occasional LEDX if you're blessed by the loot gods. Also the single most contested location on the entire map during the opening rush.
The store layout offers basically zero cover. One entrance creates a fatal funnel. If someone shows up while you're inside, you're either winning that fight or you're dead—there's no middle ground and there's definitely no escape route.
Techno's the ground-floor alternative near Brutal clothing store. Smaller than Tech Light but still spawns GPUs and graphics cards. The first-floor location means faster access from garage spawns, though you'll still find plenty of company. Slightly less traffic than its second-floor cousin, which isn't saying much considering Tech Light might as well have a neon sign saying "PVP HERE."
IDEA Offices and Mantis
IDEA offices (second floor, need the key) reward you with multiple safes, desk loot, and occasional LEDX spawns. Unlike the wide-open tech stores, these connected office rooms give you actual walls and doors. The key costs maybe 45,000 rubles—you'll make that back in two successful runs.
Mantis clothing store sits second floor, and most players walk right past it looking for tech spawns. Their loss. The ritual room in back spawns quest items and valuable barter goods. Way less traffic than obvious spots, which means you might actually extract with your loot instead of adding it to someone else's highlight reel.
Interchange Power Station Guide
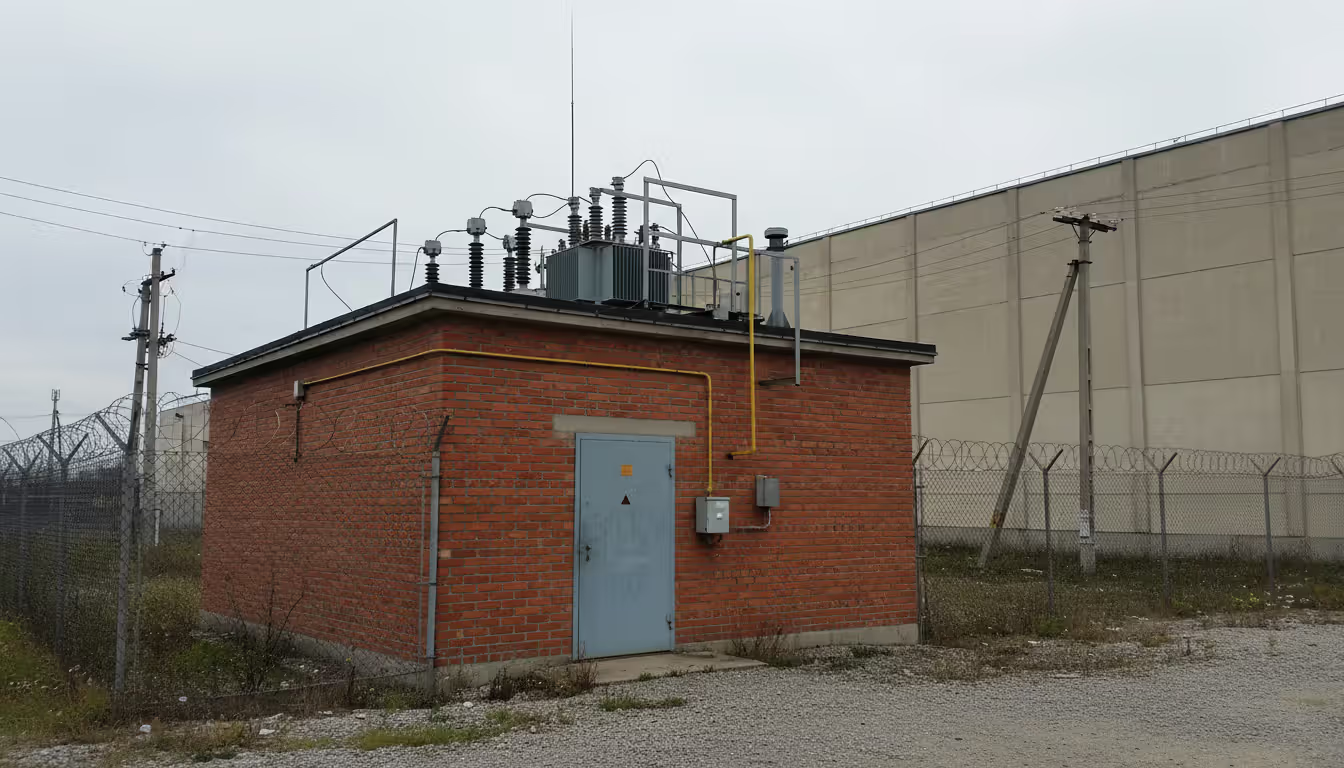
Power station's a little building northwest side, between the mall and outer fence. Inside you'll find one button on the wall. Press it. Power turns on. Lights come on throughout the mall, escalators start moving, Saferoom extract unlocks.
Sounds simple because it is simple. The complexity comes from everything that happens after you press that button.
First, the activation sound echoes across half the outdoor area. Every player with working headphones now knows someone just visited the power station. Second, you've just made yourself a target because players love to camp that building anticipating exactly this scenario. Third, you've potentially helped your enemies by giving them better visibility in dark stores.
Some players flip it immediately if they spawn nearby, normalizing the sound so nobody can pin down timing. Others avoid it completely, using darkness as concealment. I've gone entire raids without power and never missed it because my route didn't need the Saferoom extract and my headset lights up targets better than the mall's fluorescents anyway.
Certain stores stay pitch black without power, making looting difficult unless you're running night vision or don't mind announcing your position with a flashlight. You'll see players with 20-lumen flashlights trying to loot Tech Light in the dark, which would be funny if it weren't so tragic.
The tactical calculus changes based on spawn location, your loadout, and whether you actually need that Saferoom extract. There's no universal right answer, which is what makes it interesting.
Author: Megan Crosley;
Source: okogames.site
Essential Keys for Interchange
Interchange has probably fifty locked doors. Most aren't worth the inventory space. Here's what actually matters:
| Key Name | What It Unlocks | Average Price | Loot Value | Beginner Priority |
| IDEA Office | Three connected second-floor offices | 45,000₽ | Consistently good (safes, LEDX possible) | Buy this first |
| OLI Administration | Office area and logistics section | 35,000₽ | Solid (safes, general loot) | Second purchase |
| Kiba 1 & 2 | Gun store (need both keys) | 400,000₽+ together | Excellent if you survive | Wait until you're comfortable with PVP |
| Goshan Key | Back offices | 25,000₽ | Decent (food, quest stuff) | Low priority |
| OLI Logistics | Storage rooms | 30,000₽ | Okay (tools, random supplies) | Skip until you've got rubles to burn |
IDEA office key pays for itself so fast it's almost unfair. Three rooms, multiple safes, filing cabinets, desk spawns that regularly produce good items. I've pulled 300K+ from those offices in a single raid more times than I can count.
OLI Administration unlocks the offices behind OLI store. More safes, more loose loot. Not quite as lucrative as IDEA but the ground-floor location makes for easier access and faster escape routes when things go sideways.
Kiba's the money sink everyone eventually buys despite knowing better. Those keys cost serious rubles, you'll lose them when you die (and you will die), and the store's location guarantees conflict. Don't touch Kiba until you're confidently winning gunfights and extracting successfully. Losing 400K in keys because you couldn't handle the third-party hurts way worse than missing out on some weapon attachments.
Killa Scav Boss Spawn and Strategy
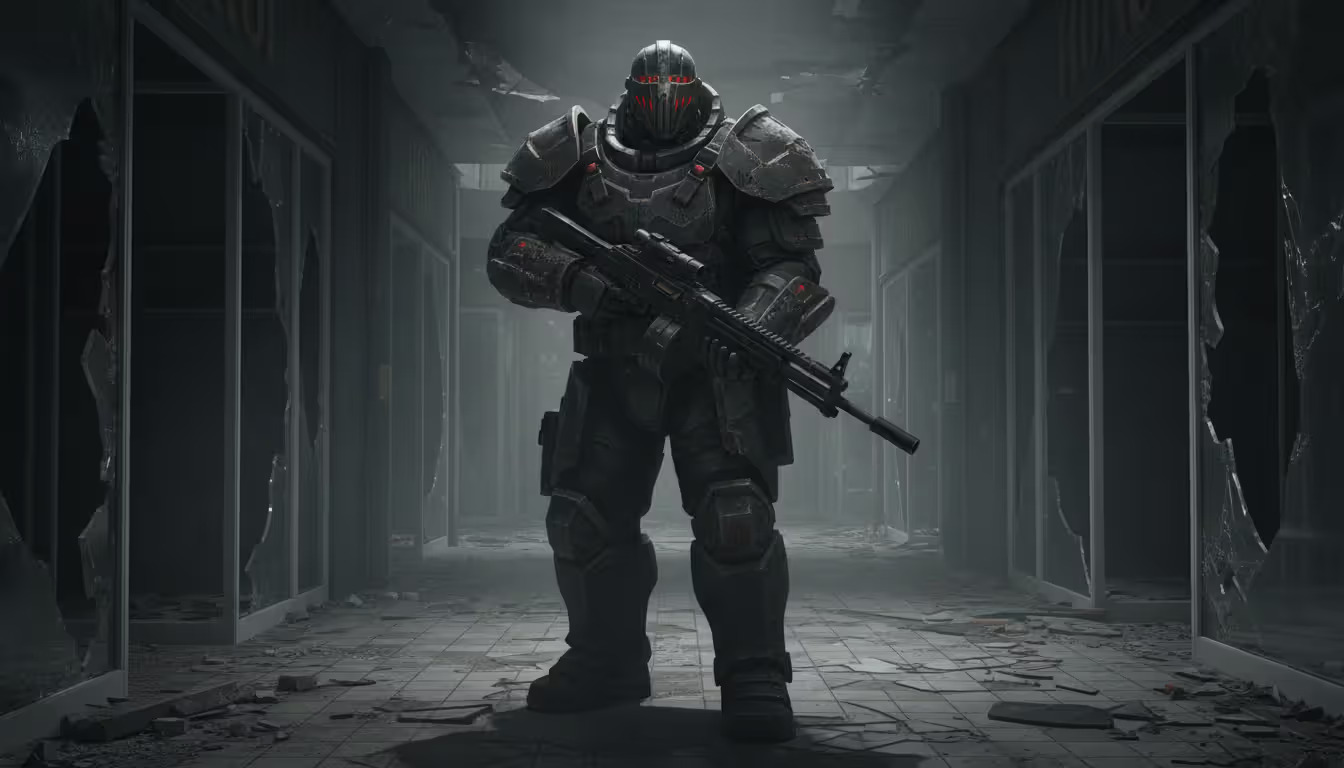
Killa wears a helmet that looks like a hockey mask had a baby with military armor, and he roams the first-floor central corridor looking for people to mag-dump. He spawns 30-40% of raids, though the exact rate changes with patches and seems to fluctuate based on what conspiracy theory you believe.
Common spots include the center area near Burger Spot, between Brutal and Kiba, sometimes literally inside stores. Unlike most bosses who hold positions, Killa actively patrols. He moves. He pushes toward gunfire. He'll sprint at your face while dumping his RPK's 60-round mag in your general direction with accuracy that shouldn't be possible for a Scav.
His armor tanks most rifle rounds unless you're specifically targeting his legs or face shield. That distinctive Killa helmet stops frontal headshots cold, forcing you into leg meta or burning expensive ammo punching through his thorax armor. Face-to-face fights with Killa end one of two ways: you overwhelm him with superior positioning and firepower, or you respawn.
Leg meta works best for budget runs—high flesh damage rounds into his unarmored legs will drop him eventually. If you're loaded and don't care about ammo costs, high-pen rounds to the chest break through his armor after enough hits. Either way, use cover. Use angles. Use distance. Do not, under any circumstances, challenge him to a corridor sprinting contest. He'll win and you'll be watching your death screen wondering what happened.
His loot's worth millions when you piece it together: the helmet alone goes for 500K+, his armor's 300K+, the modded RPK's another several hundred thousand. Problem is, every player within earshot heard that extended firefight and they're all converging on your position right now. Killing Killa starts a timer until the vultures arrive.
New players should just avoid him. Hear those aggressive Russian callouts? See someone in heavy armor sprinting toward gunfire? Go literally anywhere else. Learning to identify and avoid Killa keeps you alive way longer than learning to fight him before you're ready.
Author: Megan Crosley;
Source: okogames.site
Beginner Tips for Surviving Interchange
Interchange kills beginners in ways they don't expect and wouldn't predict even if you warned them.
Don't sprint through the mall during the first ten minutes. Just don't. That opening window sees everyone rushing their preferred loot spots, turning the central corridor into a blender where geared players shred anyone who wanders through unprepared. Enter late, take alternate routes through anchor stores, or wait out the initial chaos in a dark corner somewhere while everyone else thins the herd.
Sound matters more on Interchange than almost any other map. Everything echoes. Footsteps, door sounds, item pickups—all of it broadcasts your position to anyone listening. Walk when you're approaching contested areas. Learn the different surface sounds because metal catwalks ring completely different from tile floors, and experienced players use that information to pinpoint your exact location.
The lighting will mess you up for your first dozen raids. Stores stay dark even during daytime. The mall's interior lighting creates harsh shadows that hide players in plain sight. Bringing a flashlight helps, sure, but that light source also paints a target on your forehead. Better to learn navigating key areas in darkness before you start announcing your presence with tactical lights.
Extract campers are a permanent Interchange fixture. Railway and Emercom both see regular camping because players would rather wait fifteen minutes for one guaranteed kill than actually loot the map. Vary your extract timing—sometimes leave immediately after looting, sometimes wait until late raid. Check obvious camping spots before committing to the extract zone. Never, ever stand still during your extraction timer. Wiggle. Move. Make yourself a harder target.
That parking garage? Nightmare fuel for anyone who values their gear. Players spawn throughout this concrete hellscape, visibility's terrible, pillars create infinite ambush angles. Moving through the garage, stick to cover obsessively. Avoid long sightlines. Treat every ramp and stairwell like it's already got someone holding the angle, because it probably does.
Hidden stashes offer an alternative to high-risk mall looting that most beginners sleep on. The parking lot's dotted with buried stashes—little mounds of dirt that spawn random loot including occasional valuable items. You can run a whole circuit of stashes and extract with 200-300K in your backpack without ever entering the mall or firing a shot. Not exciting, but profitable and safe.
Map knowledge beats gear every single time on Interchange. Memorize medical supply locations, ammo box spots, food cache positions. Knowing where to find emergency healing mid-fight determines whether you survive. Similarly, learn alternate routes between major areas because the map offers multiple paths to most destinations, and choosing less obvious routes helps you avoid common camping positions.
You'll die a lot learning this map. That's not failure, that's tuition. Every death teaches you something: where players hold angles, which routes see heavy traffic, when to fight and when to extract. Treat deaths as lessons instead of setbacks and you'll improve exponentially faster.
Interchange is one of the most profitable maps in Tarkov if you know where to look, but the indoor CQB and lighting make it extremely punishing for new players
— Pestily, Escape from Tarkov content creator
Frequently Asked Questions
Mastering Interchange isn't something that happens over a weekend. You'll need patience, map knowledge that only comes from repetition, and tactical awareness built through dozens of raids where you learn what works by discovering what doesn't. Start conservative—anchor stores, peripheral loot spots, parking lot stashes. Build familiarity with the layout before you start incorporating high-risk areas.
Balance greed against survival every single raid. A modest haul you actually extract with beats a backpack stuffed with GPUs that never leaves the mall. Learn to recognize when a raid's turned dangerous and adjust your plans accordingly. Sometimes the smart play is skipping that last tech store and heading straight to extract, even though you know there's a graphics card sitting on the shelf.
Equipment matters way less than knowledge here. A player running budget gear who understands rotation timings, sound cues, and safe routes will consistently outperform heavily-geared players sprinting carelessly through contested areas. Invest time learning the map before you invest rubles in expensive keys. Treat each death like it's teaching you something, because it is.
Interchange offers some of Tarkov's fattest loot, but only to players willing to learn its lessons the hard way. See you in the mall—preferably not down someone's optic.