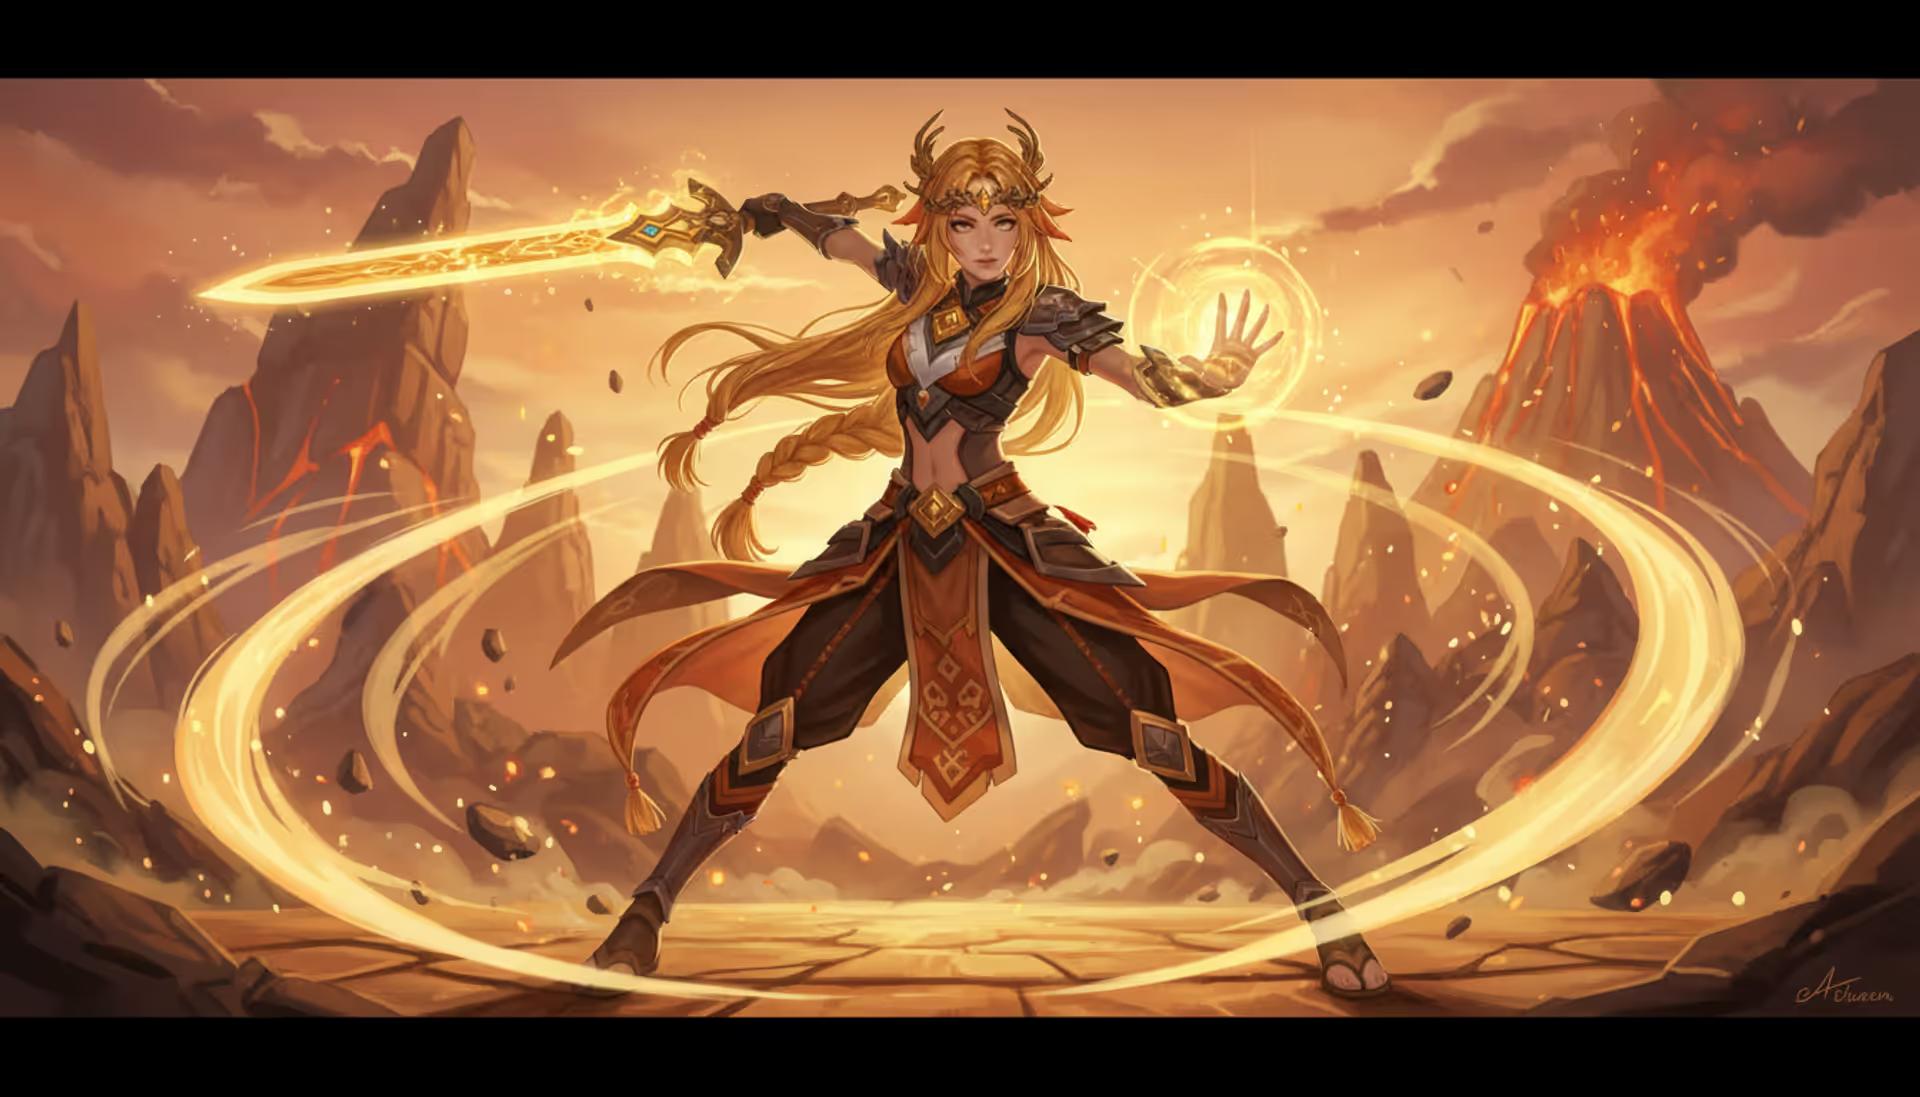

Windwalker Monk character in dynamic combat pose surrounded by green and blue Chi energy streams against epic fantasy mountain landscape in World of Warcraft cinematic style
WW Monk BiS Gear and Performance Guid

Content
Getting your Windwalker Monk geared properly in World of Warcraft's current patch isn't just about chasing item level—though that certainly helps. You need the right secondary stats, tier pieces in specific slots, and embellishments that actually synergize with how the spec plays. Whether you're pushing Mythic raid progression, timing +25 keys, or climbing arena rating, your gear choices matter more than you might think.
Let's break down exactly what you should be wearing, which stats actually move the needle, and how to avoid the common gearing mistakes that tank your DPS.
Windwalker Monk Stat Priority for Current Patch
Here's something that trips up newer Windwalker players: this spec doesn't care much about your weapon swing timer. Nearly all your damage comes from abilities, not auto-attacks. That fundamental difference completely changes which stats you should chase.
Primary Stats:
Agility wins, every single time. Stack it relentlessly. Each point increases both your attack power and crit chance baseline, affecting every single ability you press. The general rule? Don't trade Agility for secondary stats unless you're looking at a 20+ item level downgrade. Even then, sim it first.
Secondary Stat Priority:
Here's what actually matters for raid encounters and Mythic+ dungeons:
- Versatility – This gives you a flat percentage boost to damage while also reducing incoming damage by half that amount. That defensive layer keeps you alive in one-shot mechanics, making it invaluable during progression. Plus, it scales predictably—10% Versatility gives you exactly 10% more damage, no complicated breakpoints.
- Critical Strike – Crits are good, obviously. They become significantly better once you've got the 4-piece tier bonus, which triggers extra effects on Blackout Kick crits. You'll want roughly 25% crit chance from gear before the diminishing returns make other stats more attractive.
- Mastery – Here's where players get confused. Mastery rewards you for not using the same ability twice in a row. Sounds great, right? In practice, its value depends entirely on perfect execution. Miss one combo and you're losing value. During high movement fights, Versatility just works better.
- Haste – Windwalker has energy issues, but Haste doesn't solve them like it does for other specs. A little bit from your gear is fine, but don't go hunting for it. Your global cooldown barely changes, and you're still waiting on energy regardless.
Want a concrete target? Shoot for 30% Versatility. You'll feel the survivability difference immediately in keys above +20. Below that threshold, you're one bad pull away from getting destroyed by incidental damage.
One mistake I see constantly: players gem and enchant for Mastery because it sounds perfect for Windwalker's combo strike identity. Then they wonder why sims show Versatility pulling ahead. Real fights have movement. You'll break combos. Versatility forgives mistakes; Mastery punishes them.

Author: Tyler Vance;
Source: okogames.site
Best-in-Slot Gear for Windwalker Monk
BiS lists shift every patch, but the methodology stays consistent. Chase item level first within reason, then optimize secondary distributions. Here's what you should be wearing right now:
Current Season BiS by Slot:
| Slot | Item Name | Source | Item Level | Secondary Stats | Alternative |
| Head | Faceguard of the Singing Winds | Mythic Raid Boss 3 | 528 | Vers/Crit | Great Vault M+ (Vers/Mast) |
| Neck | Torc of the Stormrider | Mythic Raid Boss 7 | 528 | Vers/Crit | Crafted Order (Vers/Haste) |
| Shoulders | Mantle of Cyclonic Fury | Mythic Raid Boss 5 | 528 | Vers/Mastery | Use for tier if needed |
| Chest | Vestments of Tempered Gales | Mythic Raid Boss 4 | 528 | Crit/Mastery | Tier slot—prioritize set bonus |
| Wrists | Bracers of Contained Chaos | M+ End Boss +20 | 522 | Vers/Crit | Craft with embellishment here |
| Hands | Grips of the Windcaller | Mythic Raid Boss 6 | 528 | Vers/Crit | Tier slot—prioritize set bonus |
| Waist | Cinch of Primal Resonance | Mythic Raid Final Boss | 528 | Vers/Mastery | M+ Boss 2 (Crit/Vers) |
| Legs | Legguards of Aerodynamic Flow | Mythic Raid Boss 8 | 528 | Crit/Vers | Tier slot—prioritize set bonus |
| Feet | Striders of Perpetual Motion | M+ Boss 4 +20 | 522 | Vers/Mastery | Raid version (Crit/Mast) |
| Ring 1 | Band of Twisted Fate | Mythic Raid Boss 9 | 528 | Vers/Crit | Crafted (Vers/Mastery) 522 |
| Ring 2 | Seal of the Relentless | M+ Final Boss +20 | 522 | Vers/Mastery | Conquest PvP Ring (Vers/Crit) |
| Trinket 1 | Rage of the Sleeper | Mythic Raid Boss 2 | 528 | Agility proc on damage | Passive Agi stick preferred |
| Trinket 2 | Storm's Gathering Tempest | M+ Boss 3 +20 | 522 | On-use damage buff | Sim your own character |
| Weapon | Fist of the Northern Wind | Mythic Raid Final Boss | 528 | N/A | M+ weapon 522 acceptable |
Acquisition Strategy:
Get your 4-piece tier bonus before you worry about perfect stats. Seriously. The tier bonuses are strong enough that you'll wear pieces 10-15 item levels below your vault options. I've seen players sim a 515 tier piece against a 528 non-tier piece and the tier still wins.
For non-tier slots, hunt Versatility/Crit combos. Bracers are your best crafting candidate because raid drops in that slot tend to have awful stat combinations. You control the secondaries AND add an embellishment.
Trinkets require personal sims. The "best" trinket varies based on your current crit chance, Versatility amount, and whether you're doing single-target or AoE. Passive Agility stat sticks often beat fancy proc trinkets because Windwalker's rotation is already hectic—you don't need another thing to track.
Windwalker Monk Tier Set Bonus Explained
Current tier bonuses completely change your Chi economy and Blackout Kick usage:
2-Piece Bonus: When you cast Rising Sun Kick or Fists of Fury, Blackout Kick gets a 25% chance to reset its cooldown and cost 50% less energy for the next 5 seconds.
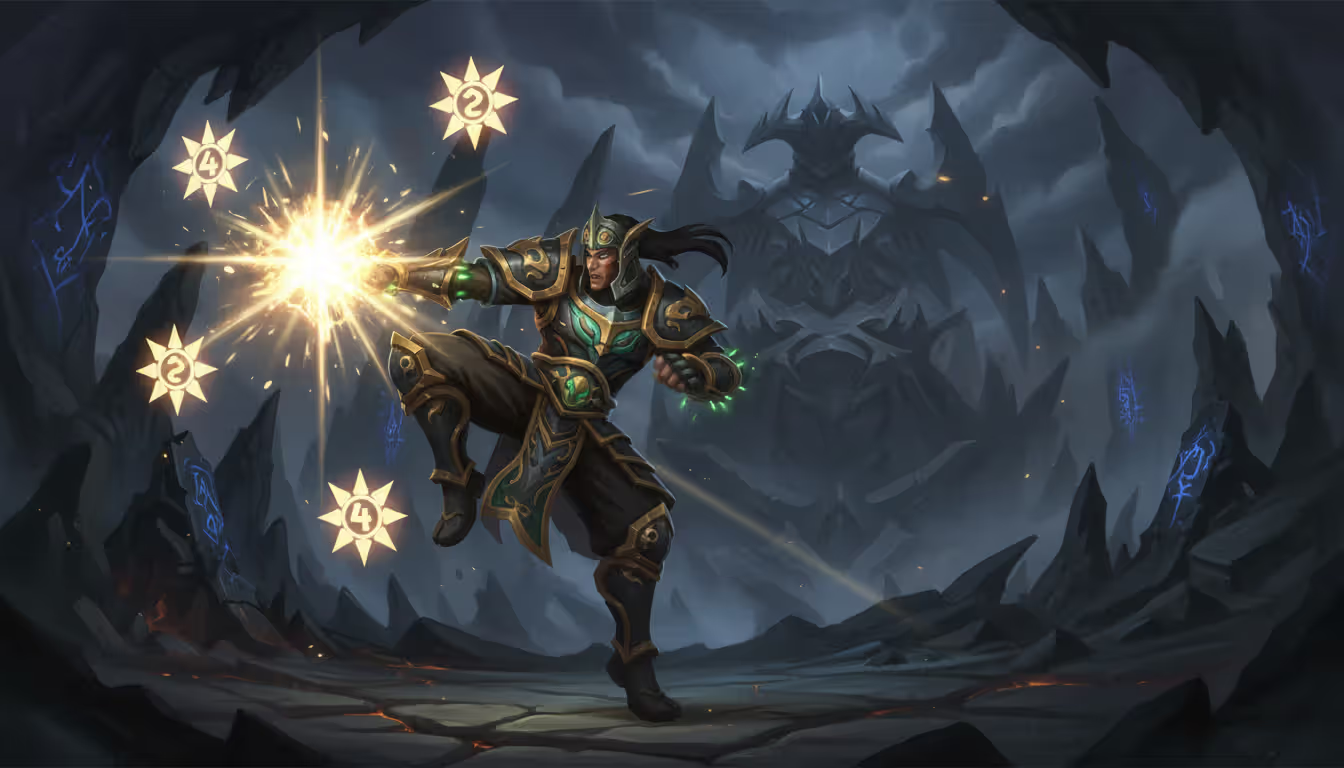
4-Piece Bonus: Each time Blackout Kick crits, you gain 1 bonus Chi and your next Rising Sun Kick hits 10% harder. Stacks up to 4 times.
These bonuses create a snowball effect. The 2-piece gives you more Blackout Kicks. The 4-piece rewards you for those extra Blackout Kicks with Chi generation and buffed Rising Sun Kicks. It's a feedback loop that accelerates your entire damage pattern.
How This Changes Your Gameplay:
With 4-piece equipped, you're fishing for Blackout Kick crits to stack that Rising Sun Kick buff. You want all 4 stacks before spending it, which means weaving more Blackout Kicks into your rotation than you did in previous seasons. Your energy management gets tighter because you're pressing more buttons.
The tier set also makes Critical Strike significantly more valuable. Each Blackout Kick crit literally generates Chi—that's resource generation tied directly to crit chance. Players running 4-piece should maintain at least 25% crit to keep Chi flowing smoothly.
Is 4-piece mandatory? For any serious content, absolutely yes. You're looking at roughly 12-15% damage increase compared to BiS non-tier pieces. Wear tier even when it's 10-15 item levels lower. The exact breakpoint depends on secondary stats, but tier almost always wins.
Author: Tyler Vance;
Source: okogames.site
Windwalker Monk Talent Build Recommendations
Talent optimization changes drastically based on whether you're killing a raid boss, speedrunning a dungeon, or fighting players in arena. Here's what actually works:
Raiding Build (Single-Target/Cleave):
Class Tree Essentials: - Tiger's Lust keeps you mobile during mechanics - Improved Roll gives extra charges for positioning - Ring of Peace handles various interrupt/utility checks - Diffuse Magic for magic damage reduction (required on several bosses)
Spec Tree Core Picks: - Strike of the Windlord for burst windows (never skip this) - Xuén, the White Tiger as your primary cooldown - Dance of Chi-Ji when AoE opportunities exist - Serenity for pure single-target OR Storm, Earth, and Fire for 2-target cleave
The Serenity versus Storm, Earth, and Fire choice depends entirely on encounter design. Got a single boss with zero adds? Serenity wins. Fight has consistent 2-3 target cleave? Storm, Earth, and Fire pulls ahead by 8-10% on total damage.
Mythic+ Build:
Adjust these spec tree choices for dungeons: - Storm, Earth, and Fire becomes non-negotiable for trash packs - Rushing Jade Wind adds passive AoE that doesn't interrupt other casts - Mark of the Crane talents scale your damage on large pulls - Thunderfist to handle target cap situations better
Energy management becomes brutal in Mythic+ because fights last longer. Take Energizing Elixir as an emergency resource button when you're completely dry during large pulls where everything needs to die quickly.
PvP Talent Adjustments:
Arena requires completely different priorities—you need survivability and burst setup tools: - Reverse Harm for emergency self-healing between healer globals - Alpha Tiger guarantees crits during your go - Turbo Fists for sustained pressure between burst windows - Fortifying Brew with reduced cooldown (you'll need this often) - Enhanced Paralysis and other CC improvements
Windwalker PvP is about setting up coordinated burst with your team while staying alive between those windows. Versatility becomes even more critical here—you want 35%+ for rated arena above 2000 rating.
Common mistake? Players take every passive damage node while skipping defensive and utility options. Dead DPS does zero damage. Surviving mechanics and providing Ring of Peace for your raid contributes more than another 2% increase to Tiger Palm.
Author: Tyler Vance;
Source: okogames.site
How to Execute the Windwalker Monk Rotation
Windwalker uses a priority system, not a fixed rotation. The golden rule: never repeat the same ability twice consecutively (except during Serenity) to maximize your Mastery value.
Opener Sequence:
- Chi Burst (if talented) at -3 seconds on pull timer
- Tiger Palm until you reach 4-5 Chi
- Activate Xuén, the White Tiger
- Immediately follow with Strike of the Windlord
- Rising Sun Kick next
- Blackout Kick to avoid repeating abilities
- Fists of Fury when target is stationary
- Resume priority-based rotation
Priority System During Combat:
- Strike of the Windlord (always on cooldown, never hold this)
- Rising Sun Kick (use on cooldown, or when you've stacked 4 tier buffs)
- Fists of Fury (on cooldown, only when boss won't move away)
- Blackout Kick (when proc lights up or you're at 4+ Chi)
- Whirling Dragon Punch (if talented—only when both FoF and RSK are cooling down)
- Chi Wave or Chi Burst (if talented, use on cooldown)
- Tiger Palm (generate Chi, never use when already capped at max)
- Spinning Crane Kick (3+ targets clustered, or Dance of Chi-Ji proc is active)
Cooldown Management:
Line up Xuén with bloodlust and prepot when possible. For fights with multiple burn phases, save Xuén for the highest-priority damage window instead of blindly using it on cooldown. A well-timed Xuén during execute phase beats an extra use during an add phase where damage doesn't matter.
Serenity windows break normal rules entirely. During Serenity, spam your hardest-hitting abilities without worrying about combo strikes: - Rising Sun Kick repeatedly - Blackout Kick fills gaps between RSK casts - Strike of the Windlord if it's available during the window
Common mistakes include Chi-capping (hitting 6 Chi then generating more, completely wasting resources) and breaking Mastery by accident outside Serenity windows. Energy management also confuses newer players—never cap at 100 energy just sitting there, but also don't drain completely empty where you're stuck waiting.
Movement separates good Windwalkers from elite parsers. Use Tiger Palm and Blackout Kick while moving. Save Fists of Fury and Spinning Crane Kick for when you're planted. Roll, Flying Serpent Kick, and Tiger's Lust give you ridiculous mobility to handle mechanics without losing uptime.
Legendary Items and Embellishments for WW Monk
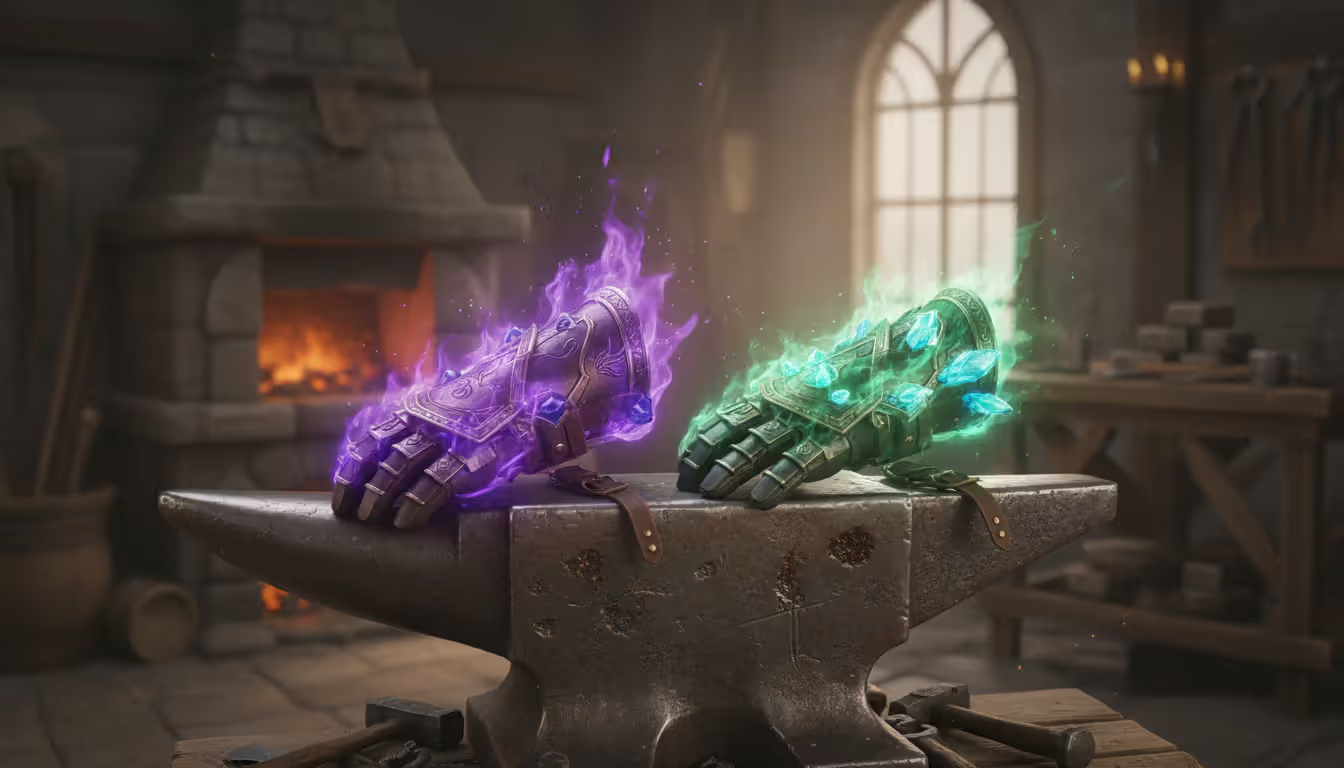
The current crafting system allows two embellishments equipped simultaneously. Choosing the right pair significantly impacts your damage output.
Top Embellishment Choices:
- Elemental Focusing Lens – Grants primary stat based on your highest secondary stat amount. When you're stacking Versatility to 30%+, this provides substantial Agility gains. Craft this on a Versatility/Crit piece to maximize value.
- Shadowflame-Tempered Armor Patch – Procs solid damage that scales with item level. Consistent value across all content types. Craft on any high-ilvl piece with good secondary stats.
Alternative embellishments worth considering: - Venom-Steeped Stompers (boots slot) – Movement speed bonus plus damage proc, strong for Mythic+ specifically - Toxified Armor Patch – Decent damage but less consistent than the Shadowflame version
Crafting Priority:
Focus on slots where raid itemization is terrible. Bracers, rings, and neck are typically safe bets because you guarantee perfect secondary stats while adding embellishments simultaneously.
Budget considerations matter if you're not swimming in gold. Start with one embellishment piece at maximum item level rather than two mediocre-ilvl pieces. The primary stat gain from higher item level often exceeds the benefit of a second embellishment until you can afford both at 522+.
Recrafting lets you adjust stats as your gear profile changes. Crafted Versatility/Haste initially but now need Versatility/Crit after acquiring different pieces? Recraft the secondaries without losing the embellishment—just costs materials, not the entire piece.
Author: Tyler Vance;
Source: okogames.site
Essential Windwalker Monk Weak Auras and Addons
Tracking multiple cooldowns, procs, tier set buffs, and buff stacks manually is basically impossible at high levels of play. WeakAuras provides the most flexible solution for monitoring everything simultaneously.
Recommended WeakAura Packages:
Zylla's WW Monk Suite remains the gold standard, featuring: - Hit Combo stack counter (essential for tracking Mastery effectiveness) - Tier set proc notifications with audio cues - Major cooldown trackers with alerts when they're available - Chi and Energy displays with predictive generation - Target debuff tracking (Mark of the Crane stack counts)
Import these through Wago.io by searching for current-season Windwalker packages. Make sure they're updated for the current patch—old WeakAuras will show incorrect information.
Critical Elements to Monitor:
- Hit Combo Stacks – Visual confirmation you haven't broken your Mastery bonus
- Tier Set Buffs – Know exactly when you have free Blackout Kick procs and Rising Sun Kick damage stacks
- Xuén Duration – Maximize damage during this window by pooling resources beforehand
- Dance of Chi-Ji Proc – Swap to Spinning Crane Kick immediately when this lights up
- Energy Pooling Status – Avoid capping while maintaining enough resources for priority abilities
Additional Helpful Addons:
- Details! – Damage meter with death log analysis so you can review what killed you
- Method Raid Tools – Note sharing and cooldown coordination for organized groups
- Simulationcraft – Generate your character's current stat weights and BiS comparisons
- Hekili – Rotation helper for learning (disable once you've internalized priorities)
Some players refuse rotation helpers like Hekili, arguing they prevent learning. That's partially true, but they're incredibly valuable training wheels. Use them while learning, then disable once you've internalized the priority system and can execute without prompts.
For Mythic+, add BigWigs or DBM for dungeon-specific mechanics and Mythic Dungeon Tools for route planning with your group. Knowing when damage windows occur helps you pool cooldowns for optimal moments instead of wasting them.
The biggest error I see Windwalkers make isn't mechanical execution—it's cooldown alignment. Players pop Xuén on cooldown in Mythic+ instead of saving it for boss encounters or high-priority packs, losing 20-30% of its potential value. Similarly, in raids, they activate everything immediately rather than checking the encounter timeline for coordinated burst windows
— Babylonius
This observation highlights something critical: perfect rotation execution means nothing if you're doing it at the wrong times. Study encounter guides beforehand. Coordinate with your raid leader on priority damage windows. Check when your group uses bloodlust before committing major cooldowns.
Frequently Asked Questions
Getting the most out of Windwalker Monk requires juggling multiple interconnected systems: proper gear with correct stats, tier set bonuses that modify your rotation fundamentally, talents matched to your specific content type, and mechanical execution that respects priority systems without breaking combos.
Start by securing your 4-piece tier set, even at lower item levels. Build toward 30% Versatility and 25% Critical Strike through deliberate gear selection. Master the priority rotation with emphasis on never repeating abilities outside cooldown windows.
The biggest improvements come from cooldown timing rather than perfect button pressing. Save Xuén for high-priority damage phases. Align your burst with raid cooldowns. Use your exceptional mobility to maintain uptime during mechanics instead of standing still and dying.
WeakAuras help track numerous buffs and procs you need to monitor, but understanding the underlying priority system matters more than blindly following prompts on your screen.
Windwalker rewards practice and encounter knowledge. Sim your character regularly as new gear drops. Adjust talent builds for specific encounters. Study logs to identify mistakes and improvement opportunities. The spec's skill ceiling is high, but the mobility and damage potential make the investment worthwhile for players willing to learn.